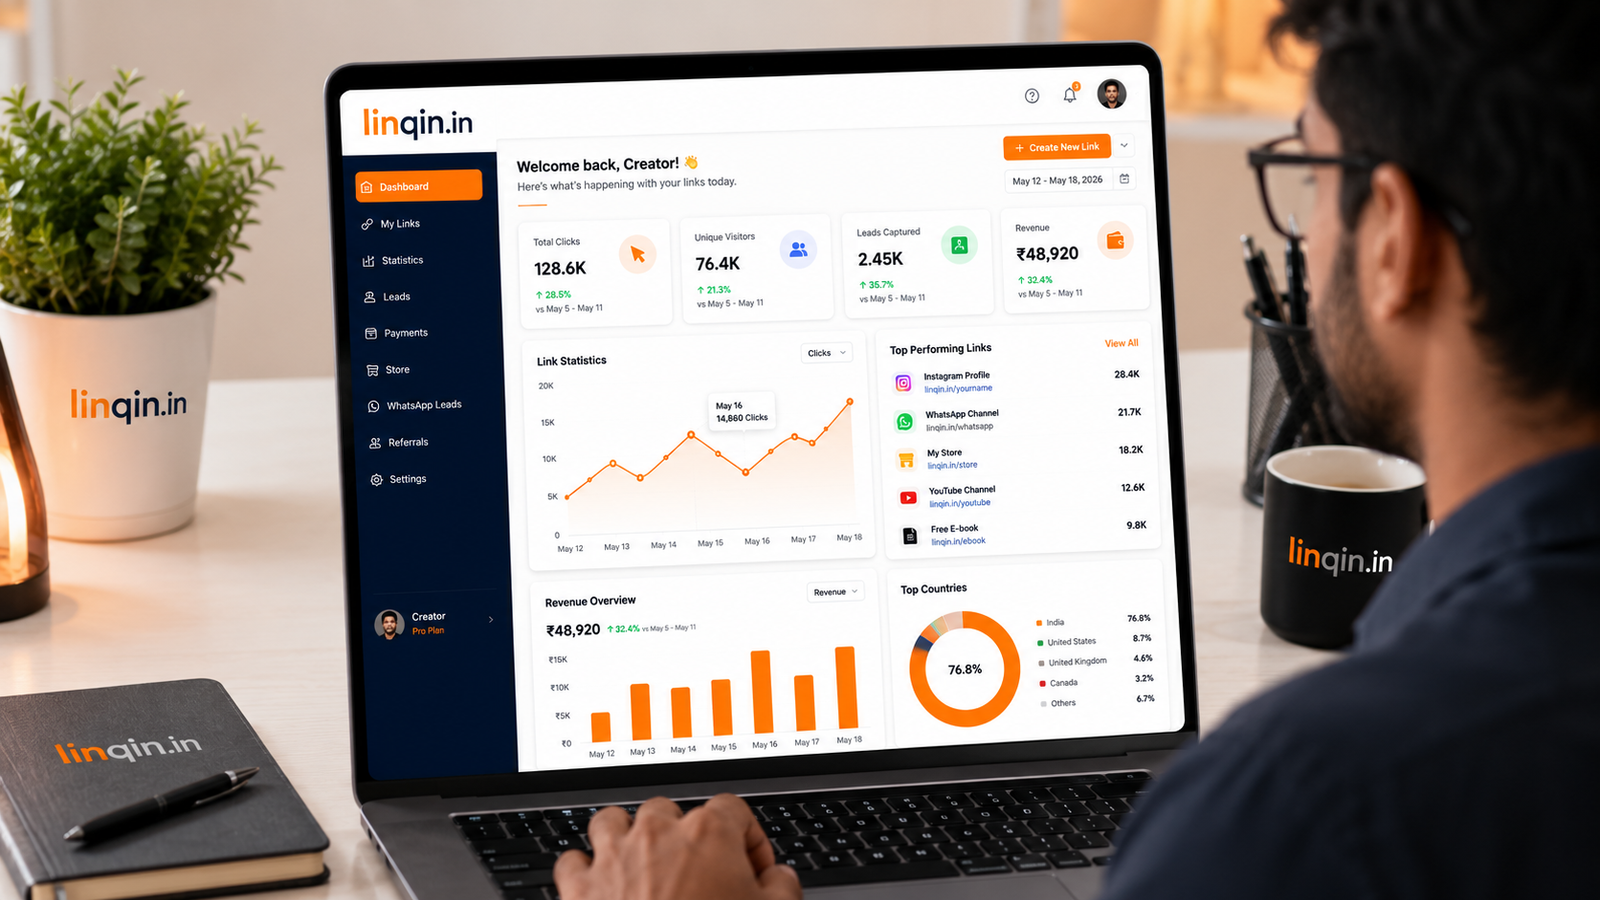
Linqin dashboard ka complete guide Hinglish me. Links, products, orders, analytics, Instagram automation — sab kuch ek jagah se manage karo. 2026 ka full walkthrough.
Agar aap creator ho, toh aapki sabse badi problem content nahi hoti — bikhra hua kaam hoti hai. Links Linktree pe, payments Google Pay pe, customer ke messages WhatsApp pe, orders ek Excel sheet me, aur analytics kahin nahi. Har cheez alag jagah.
Linqin dashboard exactly yahi problem solve karta hai. Ye ek control room hai jahan se aapka pura creator business chalta hai. Is guide me main aapko har section detail me samjhaunga — kya karta hai, kab use karna hai, aur kaise usse paise bante hain.
Dashboard Kholte Hi Kya Dikhta Hai
Login karte hi aapko 4 numbers dikhte hain jo aapke business ki health batate hain:
- Views — kitne logo ne aapka profile dekha
- Clicks — kitno ne actually kisi link pe click kiya
- Revenue — kitna paisa aaya (products + tips milake)
- Leads — kitne logo ne apna contact chhoda
Ye 4 numbers milke aapko ek kahani batate hain. Maan lo 1000 views hain lekin sirf 20 clicks — matlab log aa toh rahe hain, par unhe koi cheez interesting nahi lag rahi. Ya 200 clicks hain par 0 revenue — matlab interest hai, par kharidne ka rasta clear nahi hai.
Right Side Ka Live Preview — Sabse Underrated Feature
Dashboard ke dayein taraf ek phone dikhta hai jisme aapka actual profile live dikhta hai. Jo bhi change karoge, wo turant yahan reflect hoga.
Iska fayda: aapko har baar naya tab kholke check nahi karna padta ki page kaisa lag raha hai. Ek link add karo, side me dekho, pasand na aaye toh turant badal do.
Sidebar Ke 5 Sections — Kaunsa Kab Use Karna Hai
1. MAIN — Rozana ka kaam
Yahan wo sab hai jo aap har hafte touch karoge: Dashboard, Analytics, Links, Products, Wishlists, Orders, Social CTAs, Tip Jar aur Affiliate Links. Naye creator ko sabse pehle Links aur Products pe time dena chahiye.
2. INSTAGRAM — Automation ka dimaag
IG Automation (comment pe auto DM), IG Content (posting plan) aur Content Vault (apne reels download karna). Ye teeno tabhi kaam karenge jab aap apna Instagram account connect karoge.
3. MESSAGING — Log aapse baat kar rahe hain
Leads CRM (jinhone contact chhoda), DM Funnels (WhatsApp popup) aur Helpdesk (customer support tickets). Jab sales shuru ho jayen, ye section rozana dekhna padega.
4. PROMOTION — Traffic laane wale tools
QR Code, Advice Inbox, Blog aur Refer and Earn. Ye sab naye log laane ke liye hain.
5. ACCOUNT — Ek baar setup, phir bhool jao
View Profile, Appearance, Settings aur Plan. Settings me Razorpay keys daalna sabse zaroori kaam hai — uske bina koi payment nahi aayega.
Pehle Hafte Me Kya Karna Chahiye — Sahi Order
Naye creator sabse badi galti ye karte hain ki sab features ek saath try karte hain aur confuse ho jaate hain. Sahi order ye hai:
- Din 1: Settings me jao, profile photo aur bio set karo. Razorpay keys add karo.
- Din 2: Links section me apne 4-5 sabse important links daalo (WhatsApp, YouTube, main website).
- Din 3: Social CTAs add karo — Instagram, WhatsApp, Email ke direct buttons.
- Din 4-5: Apna pehla digital product banao aur Products me upload karo.
- Din 6: Instagram bio me apna Linqin link daalo.
- Din 7: Analytics kholo aur dekho kya chal raha hai.
Free Plan Me Kya Milta Hai
Free plan me aapko 10 links aur 20 products milte hain. Sidebar me Links aur Products ke saath ek counter dikhta hai (jaise 4/10) taaki aapko pata rahe kitni jagah bachi hai.
Sach ye hai ki zyadatar creators ko 10 links kaafi hote hain. Upgrade tab karo jab aapko Razorpay payments, Lead Funnels ya Analytics ki zaroorat pade — features ke liye, sirf number badhane ke liye nahi.
Ek Ghalti Jo 90% Log Karte Hain
Log dashboard set karke bhool jaate hain. Profile bana liya, links daal diye, aur bas. Phir 2 mahine baad complain karte hain ki kuch nahi hua.
Dashboard ek dukaan hai, poster nahi. Dukaan me stock badalna padta hai, offers lagane padte hain, customer se baat karni padti hai. Hafte me ek baar 15 minute do — analytics dekho, ek naya link ya product add karo, leads ko reply karo. Bas itna hi.
Aage Kya
Har feature ka apna detailed guide है. Sabse pehle Links aur Products wale guides padho, kyunki wahi se paisa shuru hota hai. Baaki features usko support karte hain.
Agar abhi tak account nahi banaya, yahan free me bana lo — 2 minute lagte hain, credit card nahi chahiye.
